Final Fantasy 7 Rebirth: Mistveil Reservoir Chest Locations
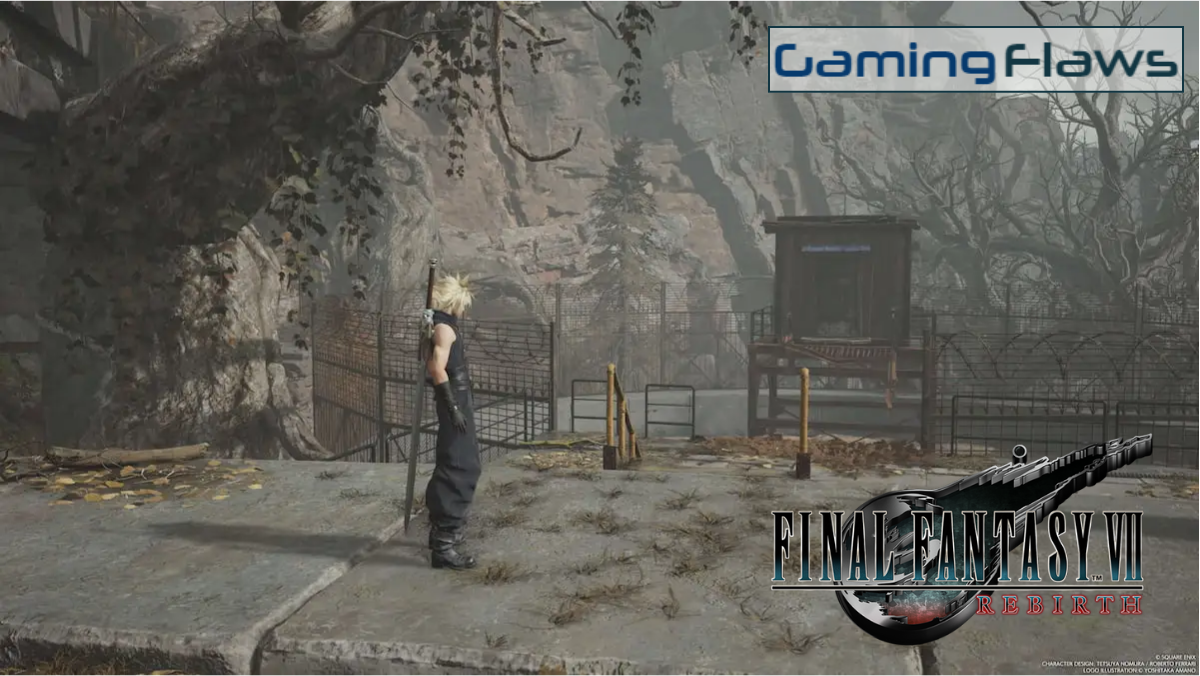
The Final Fantasy 7 Rebirth is filled with tons of exciting stuff, be it the exhilarating boss fights or the hidden treasures to explore while completing various quests. Additionally, the game features multiple hidden cache locations.
This guide will provide details on all of the Final Fantasy 7 Rebirth: Mistveil Reservoir chest locations and how to get your hands on these hidden treasures.
Read More About: Final Fantasy 7 Rebirth Weapons: Best Weapons And Their Locations
Final Fantasy 7 Rebirth: Mistveil Reservoir Chest Locations
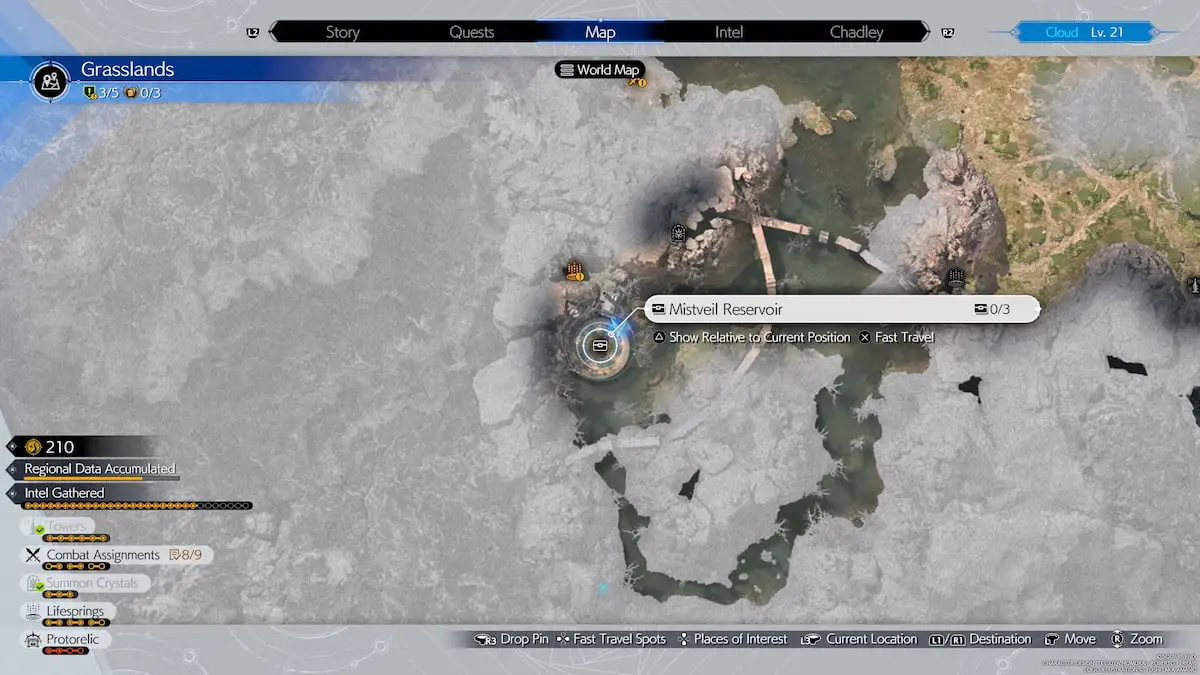
In Final Fantasy 7 Rebirth, if you’re on the hunt for hidden cache locations, Mistveil Reservoir in the Grasslands should be your target, as the area contains hidden chests. This area contains chests that you’ll notice immediately when you enter.
You can obtain various items from these chests and stock up on items that will help you out in the upcoming challenges that the game will present. However, finding these locations is not that easy.
These chests will require some roaming around the area to find them. Therefore, if you’re not sure of the exact location, it will take some time to find them. To help you out with that, this guide will provide all the Mistveil Reservoir Chest locations.
The Mistveil Reservoir is an area accessible after you have Chocobos. Once you have that, you can head over to the Mistveil Reservoir, which is located on the southwest side of the Swamplands. Read on to find Mistveil Reservoir Chest in Final Fantasy 7 Rebirth.
Mistveil Reservoir Chest Location #1
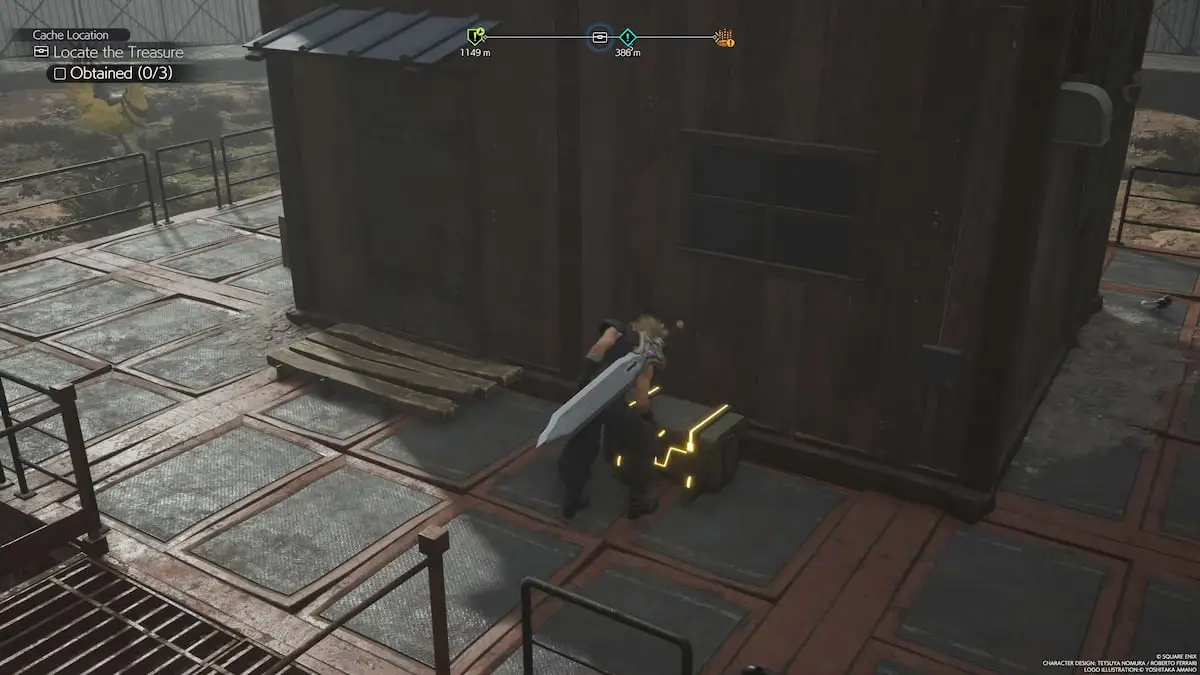
When you enter the Final Fantasy 7 Rebirth: Mistveil Reservoir, you need to turn right instead of going to the left for the main objective. You will notice a small island there; this island should be your first destination.
You need to land on the island with your party. Once there, you need to head up to the stairs, and when you reach the top, you will be at the first Reservoir cache location. The chest will be on your left, out in the open, next to the abandoned shack.
The tricky part is that several Ogres are protecting it, so you need to tackle them first before jumping to the chest. This is the easiest location to get to in Mistveil Reservoir. However, other chest locations at Thresher Waterwheel and the Mako Pipe Junction will be a challenge.
Mistveil Reservoir Chest Location #2
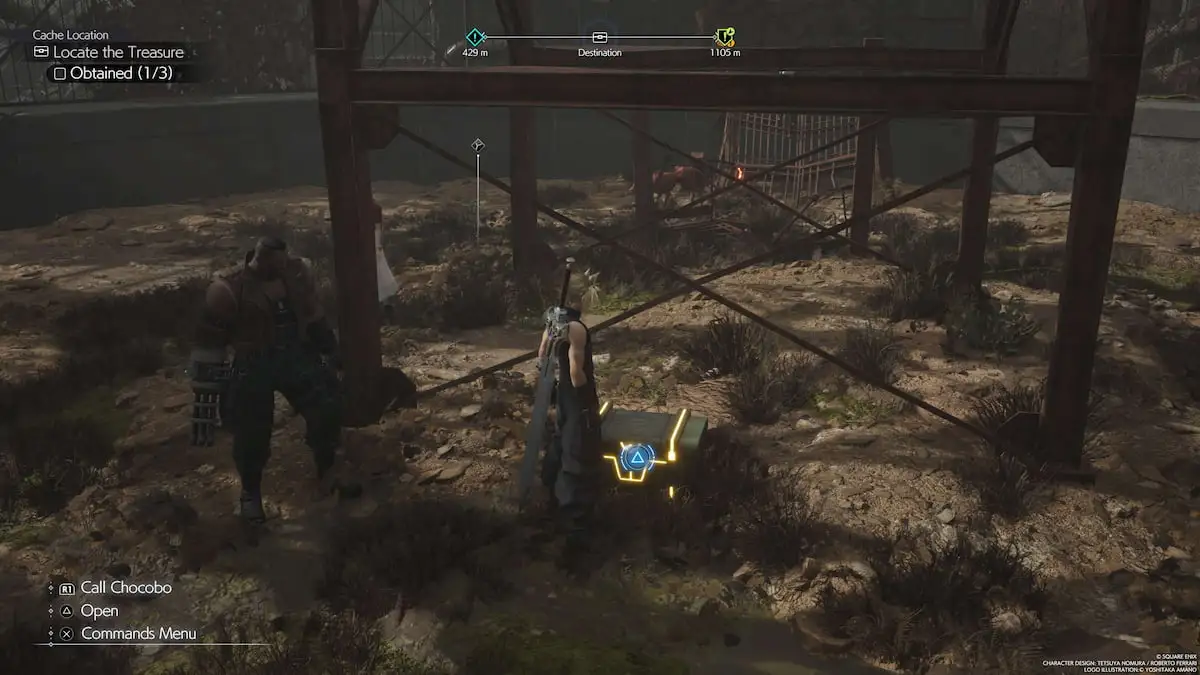
Now, for the next chest, you need to head back from the stairs and turn right. You need to head over to the dugout area of the Mistveil Reservoir. There, you will notice a large pillar; you need to go around that pillar to find the next chest hidden underneath another shack.
Mistveil Reservoir Chest Location #3
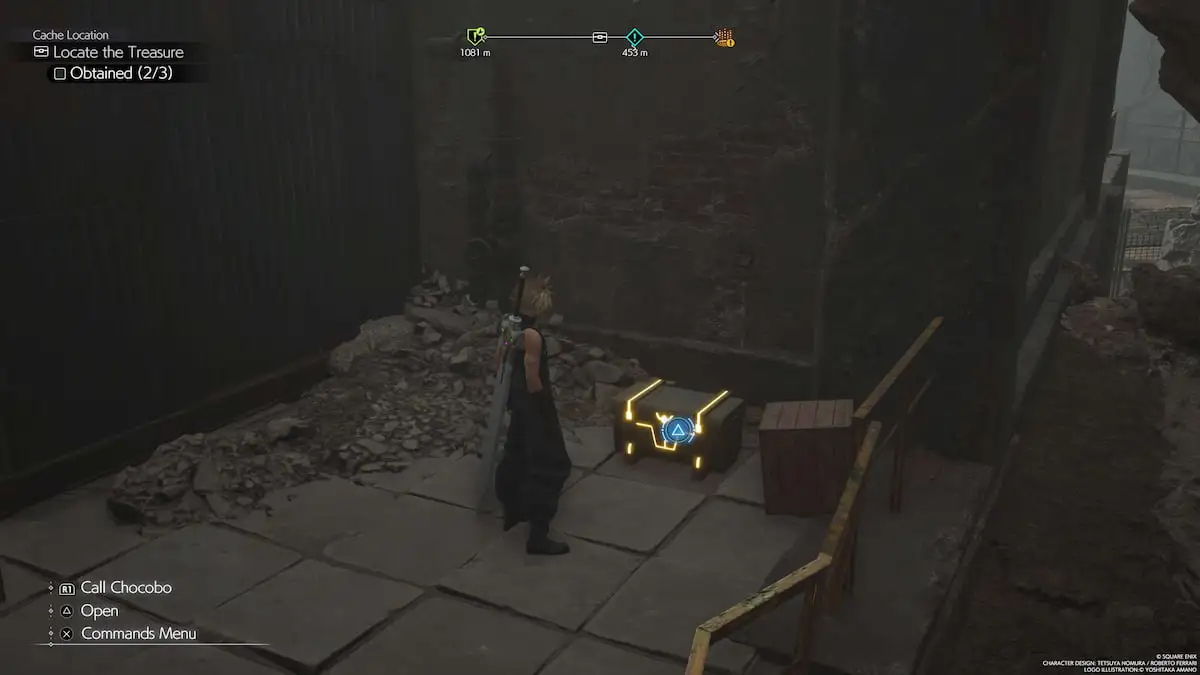
The third chest is the final one you can find in the Mistveil Reservoir, and it is the most difficult location to get to in the region. You need to head back to the stairs to start the search for the third chest.
There, you will find a ladder and use it to follow the path to the upcoming Lifespring. You need to follow the path to the Lifespring. However, before reaching the Lifespring, you will find a chest to your left.
This location is difficult to get to because it is located further away from the previous two locations; you need to be patient and look to your left while continuing the path to spot the chest.
Once you have been to all three Final Fantasy 7 Rebirth: Mistveil Reservoir chest locations, you can use the nearby Lifespring and head back to the Swamplands.
That’s all there is to know about the Mistveil Reservoir chest locations. While you’re at it, make sure to check out our detailed guide, Final Fantasy 7 Rebirth Queens Blood: How To Play Queen Blood.
As an RPG enthusiast, I immerse myself in the captivating worlds of virtual adventures uncovering hidden secrets and mastering game mechanics. Together, let’s explore compelling worlds and embark on an adrenaline-packed journey.

